
Last updated October 30, 2026
 Wrought iron
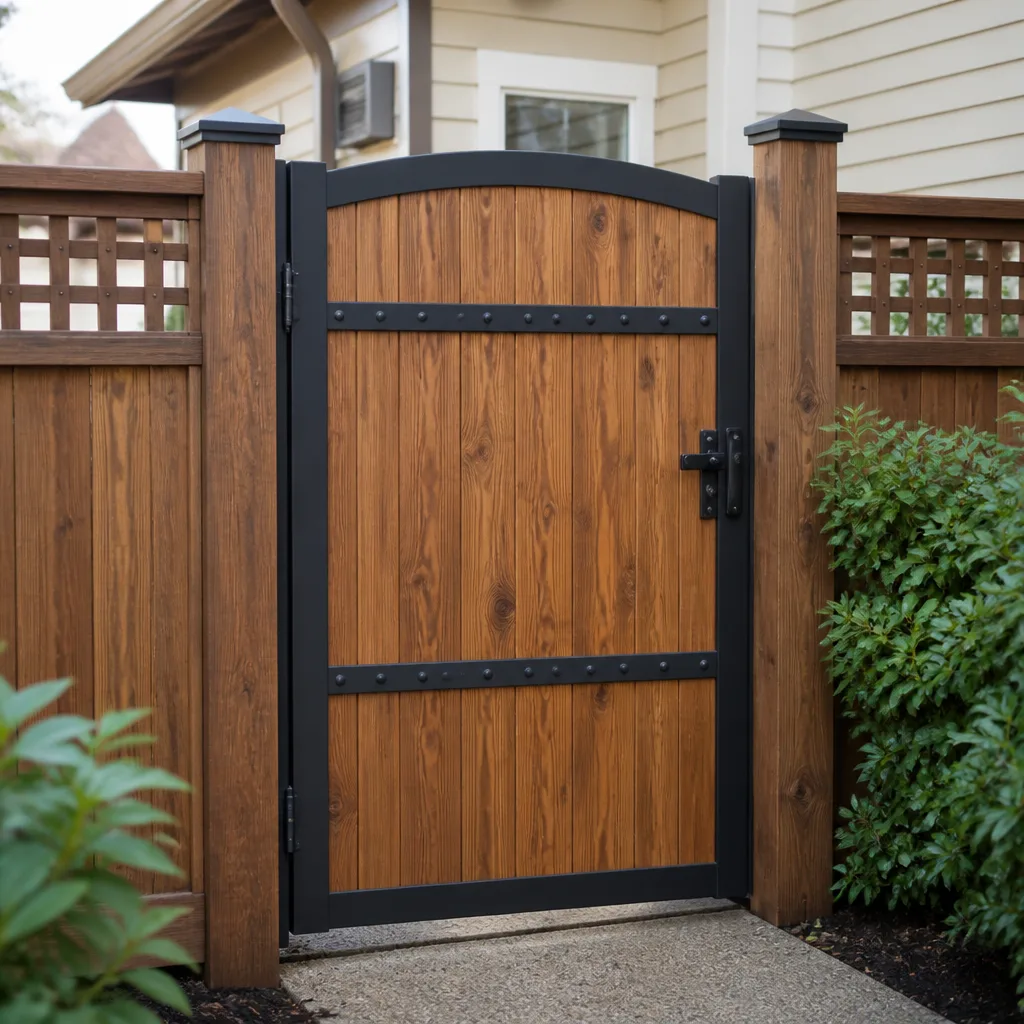 Wood & steel frame
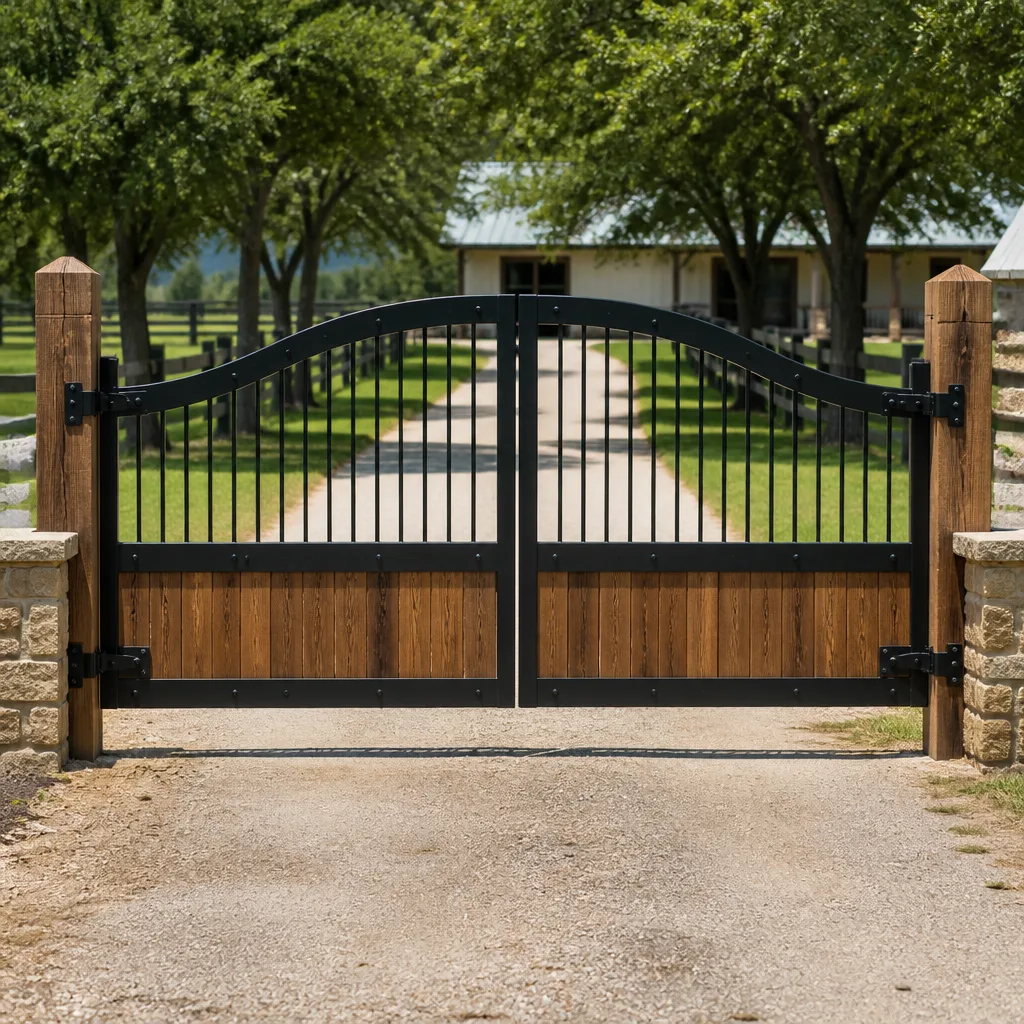 Farm & ranch
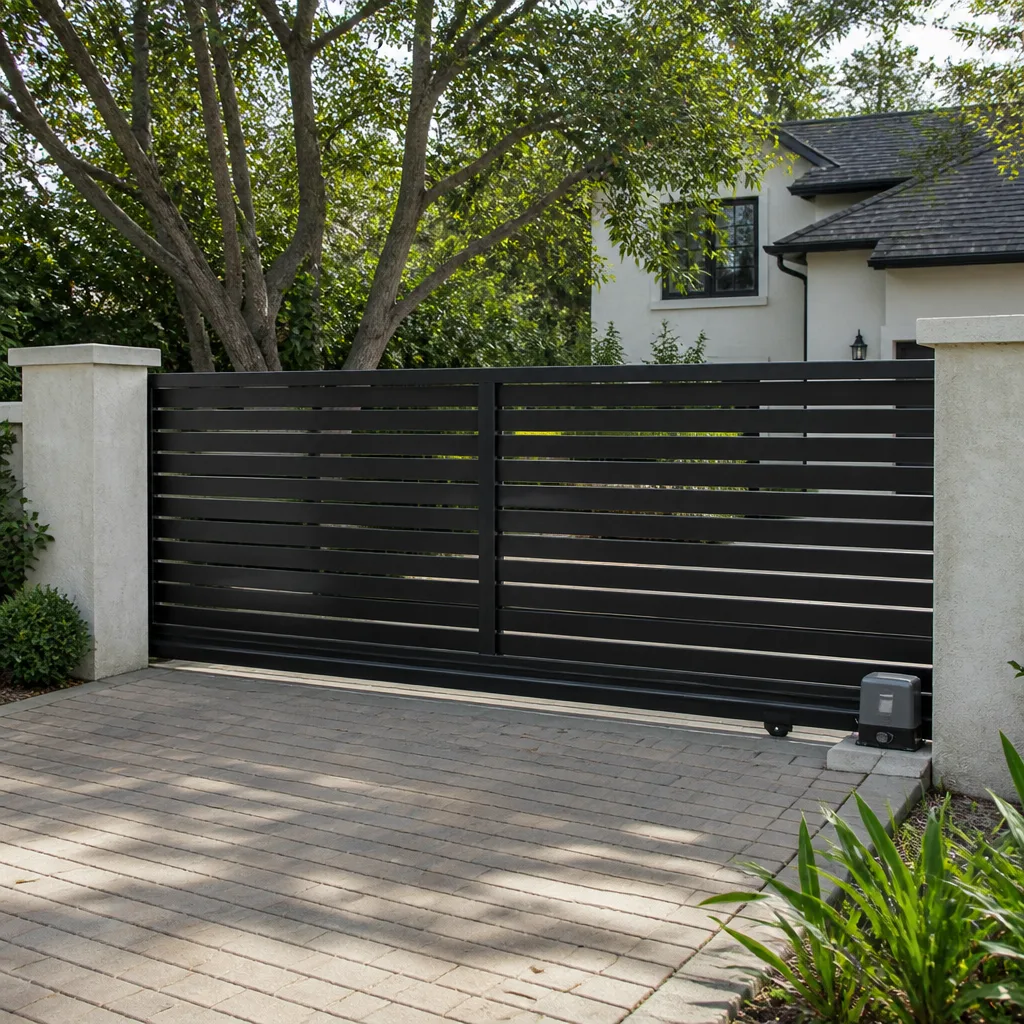 Sliding driveway gates
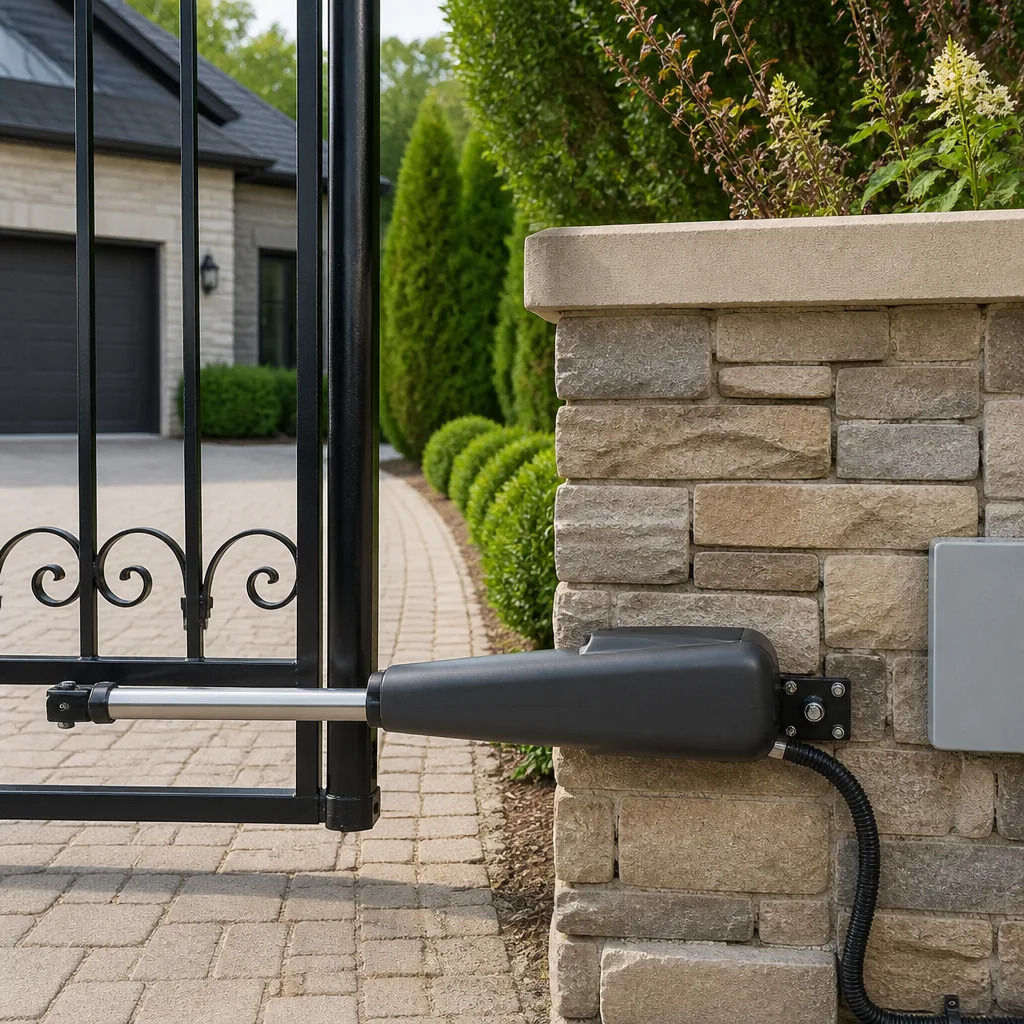 LiftMaster operators
Free on-site gate assessment - hinges, posts, and your LiftMaster or Nice gate operator checked before anything is quoted
The assessment is free and the quote is the invoice.
Get your free estimateGate Repair Maintenance Checklist for Daytona Beach Homeowners
That lubrication interval printed in your gate operator’s manual was written for a climate that gets snow. It assumes frozen hinges and ice-locked chains. What it doesn’t account for is what actually happens to a gate in Daytona Beach: 90% summer humidity off the Atlantic, salt that rides inland on every sea breeze, and UV that cooks control boards inside their own enclosures. This guide is a maintenance checklist calibrated for those conditions, not a generic four-season template. You’ll learn what to check monthly, what eats gates alive here that nobody in a northern zip code ever deals with, and how to document your findings so a technician can show up with the right parts on the first trip.
Styles & brands we work with
Quick Answer
A Daytona Beach gate maintenance checklist should focus on humidity-driven corrosion, salt accumulation on electrical contacts, and UV degradation of sensors and solar panels. Check hinge pins and conduit seals monthly, clean and treat all electrical terminals quarterly, and test safety reversal systems every single month without exception. Lubricate with a marine-grade dry-film product, never WD-40, and document each inspection so Gate Repair technicians can diagnose problems remotely before dispatch.
Table of Contents
- Why Your Gate Fails in Daytona Beach
- The Monthly Temperature Check: Tasks That Take 15 Minutes
- The Quarterly Corrosion Inspection: Humidity’s Real Cost
- The Annual Florida Tune-Up: What to Do Every Spring
- Correct Lubricants for a Coastal Climate
- Safety Sensor and Reversal Testing: The Step Most Homeowners Skip
- What to Document After Every Check (and Why It Matters)
- Common Mistakes to Avoid
- When to Call a Professional
- Frequently Asked Questions
- The Bottom Line
Why Your Gate Fails in Daytona Beach
Gates fail differently here than they do in Orlando or Gainesville. The Atlantic is eight minutes from most Daytona Beach driveways, and the salt in the air doesn’t need a hurricane to reach your property. It’s in the morning humidity, the afternoon sea breeze, the condensation that forms on your gate operator’s housing every night when temperatures drop. That salt settles on every exposed surface: hinge pins, chain links, terminal blocks, antenna connections, the tiny screws inside your keypad. Then the humidity keeps it wet. Then the heat bakes it into a crust that expands just enough to break electrical continuity.
What we see on service calls across Daytona Beach follows a predictable pattern. Outdoor keypads lose digits first, usually the numbers most used. Limit switches corrode and send false signals. Solar panels on Mighty Mule systems build up salt film that cuts output by 20-30% within a year. Control boards overheat because their enclosures were sized for cooler air. A maintenance plan that ignores these specific failure modes is just a list of tasks that feel productive while the gate quietly degrades.
Our approach, shaped by years working on gates in this specific climate, treats humidity as the primary threat, salt as the accelerant, and UV as the long-term structural enemy. The checklist below reflects that ordering. For more on what a full system inspection covers, see the Regent Gate Repair home page.
The Monthly Temperature Check: Tasks That Take 15 Minutes
Nobody maintains a gate every day. But a monthly pass takes under fifteen minutes and catches most failures early enough to avoid a $400 control board replacement. Set a recurring phone reminder. Tie it to something you already do monthly, like paying the mortgage. The point is consistency, not duration.
In Daytona Beach, summer months deserve twice-monthly checks. Rain, heat, and salt combine aggressively from June through September. A gate that works fine in April can seize in July. Here’s the monthly list:
- Walk the gate through a full open and close. Listen for new grinding, scraping, or hesitation. A gate that pauses at the same spot every cycle has a physical obstruction or a worn gear, not a programming issue.
- Check hinge pins and roller tracks for visible rust or salt crust. Florida gates rust from the bottom up. Look at the lowest hinge first. Remove any white or green crust with a wire brush, then apply a marine-grade lubricant (details below).
- Inspect the safety sensors. Both eyes should be clean and aligned. Salt film on the lenses diffuses the infrared beam and causes phantom reversals. Wipe with a dry cloth only; water accelerates corrosion on the sensor housing.
- Confirm the manual release works. Pull the release handle on your operator and swing the gate by hand. It should move freely without fighting you. If it binds, the problem is mechanical, not electrical.
- Check the gate’s ground clearance. Sand and debris from Daytona Beach storms build up under gate wheels and drag on the track. Clear it. A gate dragging gravel wears out wheel bearings fast.
- Look at the conduit and wire seals. Small cracks in conduit or missing grommets let humid air into the operator housing. This is the single most common entry point for moisture damage we see in coastal Volusia County.
“Gate Repair in Flagler Beach” has a similar climate profile and the same vulnerabilities. If you own property in both areas, the monthly routine transfers directly. See Gate Repair in Flagler Beach for the Flagler-specific breakdown.
The Quarterly Corrosion Inspection: Humidity’s Real Cost
Every three months, you need to open things up. Not the operator itself unless you’re comfortable working around capacitors, but the access points: the keypad face, the battery compartment, the terminal block cover, the loop detector housing if you have one. This is where humidity does its most expensive work in Daytona Beach.
A terminal block is just a row of screws holding wires against a metal plate. In a dry climate, it works for decades untouched. Here, salt-laden condensation wicks into the wire strands, travels up under the insulation, and corrodes the connection from the inside. The result is a gate that works intermittently. One day it opens. The next day the operator clicks and does nothing. These are the calls that make up a large share of gate repair work in this area, and they’re almost always a corroded terminal or a partially severed wire running through a flooded conduit.
The quarterly check:
- Power down the operator at the breaker before opening any access panel. Electric gate repair is not worth doing live.
- Open the keypad face. Look for green or white crust on the solder joints. Clean with a small brush and electrical contact cleaner that’s safe for circuit boards. Do not use water.
- Check the battery in your backup power supply if you have one. Florida storms kill batteries fast. A swollen or corroded battery is a fire risk and needs replacement immediately.
- Inspect all visible wiring for insulation cracks, especially where wires enter the operator housing. Look for blackened or green-tinted copper. If you see it, stop and call a technician; that wire likely needs replacement, not cleaning.
- Test solar panel output if your gate runs on solar. A multimeter across the charge controller terminals should read within 10% of the panel’s rated voltage in full sun. Salt film and grime can drop output by a third or more, and a weak charge means a dead battery, which means a gate stuck open or shut.
- Re-tighten all terminal screws to spec. Aluminum and copper expand and contract at different rates in Florida heat. Loose terminals arc, which produces more heat, which produces a fire risk. After tightening, apply a thin coat of dielectric grease to exposed connections.
If any of this feels outside your comfort zone, that’s normal. Most Daytona Beach homeowners can handle the visual checks. When it gets into wiring and terminals, that’s when a dedicated gate specialist makes more sense than a handyman. For a full breakdown of electrical work, see Electric Gate Repair in Flagler Beach, which covers the same failure patterns we see on this side of Volusia County.
The Annual Florida Tune-Up: What to Do Every Spring
Timing matters. In northern states, the big service happens before winter. Here, the big service happens in spring, before the wet season. April and May are the window. The ground is dry enough to work around, the salt from winter storms hasn’t started compounding with summer humidity, and you’re setting up the gate to survive five months of aggressive coastal weather.
Spring is the right time for a full mechanical and electrical audit. If you only do one comprehensive service a year, do it in April or May. Here’s the annual checklist:
- Remove and inspect all hinge pins. Worn pins let the gate sag. A sagging gate stresses the operator motor, which pulls more amps, which shortens its life. Replace any pin with visible grooving. This is the point where Gate Installation in Flagler Beach jobs often start: a gate that’s sagged so far it’s cheaper to replace the leaf than to rebuild the hinge system.
- Check the operator’s drive gear or belt. LiftMaster and Elite operators use gears that wear in Florida heat faster than in temperate zones. If the gear teeth look sharp rather than flat, replacement is due.
- Flush the conduits. Conduits collect water from condensation, even if properly sealed. Pull the lowest drain plug or low-point fitting and let it drain. If water comes out, the seal system needs attention.
- Test the loop detector system if you have underground vehicle detection loops. A failed loop means the gate won’t close automatically after a car passes, or won’t open for a car approaching from inside. Loop failures are common in sandy Daytona Beach soil and they’re often misdiagnosed as operator failures.
- Inspect the gate’s structural frame. Look for rust at weld points, especially at the bottom corners. Daytona Beach salt air attacks welds first. Wire-brush, prime, and cold-galvanize any spots you find.
- Run a full safety reversal test (detailed below), then document everything.
Correct Lubricants for a Coastal Climate
WD-40 is not a lubricant. It’s a water displacer that evaporates and leaves behind almost nothing. On a gate hinge in Daytona Beach, where the air itself is wet, WD-40 actually accelerates rust by stripping whatever protective film was there and then disappearing. We see this constantly: homeowners spray WD-40 on a squeaky hinge, the squeak goes away for a week, then comes back louder because the hinge is now running metal-on-metal with salt in the joint.
What to use instead:
- Marine-grade lithium grease for hinge pins and roller bearings. It’s formulated for saltwater environments and won’t wash out in Florida rain. Apply twice a year at minimum, four times a year for gates within sight of the ocean.
- Dry-film PTFE or Teflon spray for chains, slides, and anything that must stay clean. This applies a slippery film that repels salt and doesn’t attract sand the way wet grease does.
- Dielectric grease for all electrical connections, including trailer-style plugs, low-voltage wire nuts, and terminal blocks. It seals out humidity and prevents the green corrosion that kills circuits here.
- Silicone spray for rubber seals, keypad gaskets, and plastic components. It keeps gaskets flexible so they keep sealing. Petroleum-based products degrade rubber and should never be used on operators.
One more Daytona Beach-specific point: don’t lubricate the gate track on a sliding gate. Sand from beach winds sticks to wet lubricant and turns it into abrasive paste. Tracks should be clean, dry, and smooth. If the gate is scraping or grinding on its track, the problem is a worn wheel or misaligned rail, not a lack of lube.
Safety Sensor and Reversal Testing: The Step Most Homeowners Skip
Gate safety systems exist for a reason. An automated gate can crush a person, a pet, or a car. The safety reversal system and obstruction sensors are the difference between a gate that stops and a gate that injures. Most Daytona Beach homeowners test their smoke detectors twice a year but never test their gate’s safety systems. That’s backwards.
Here’s the thing about safety sensors in this climate: heat and humidity degrade them even when nothing else is wrong. An infrared sensor that sat in 95-degree sun for five summers slowly loses sensitivity. A photo eye with salt film on its lens will fail intermittently. By the time the gate fails to reverse on an obstruction, you may have already had a close call. Testing monthly is non-negotiable.
How to test both systems, without putting yourself or anyone else at risk:
- Test the photo eyes first. With the gate open, stand so your body blocks the sensor beam on one side. Press the close button. The gate should not close. If it does, the sensor is dirty, misaligned, or failed.
- Test the contact reversal. Place a sturdy object (a trash can, a cardboard box filled with books, never a person) in the gate’s closing path. Activate the close cycle. The gate should strike the object and immediately reverse direction. If it pushes through the object or stops without reversing, the force setting is wrong or the sensor has failed.
- Test the loop detector. This one you can do from your car, safely. Drive into the path of the closing gate. It should stop and reverse before contact. This tests the underground loop. If it fails, mark it in your log and call a professional; loop systems require specific diagnostics and are not a DIY fix.
- Test the keypad and remote stop. Press stop mid-travel. The gate should halt immediately. Sounds basic, but this is another function that degrades slowly as corrosion builds on control board contacts.
If any test fails, stop using the gate in automatic mode until it’s fixed. Switch to manual operation by pulling the release. Electric gate repair is the right call here, not more adjustment guessing. We work on safety systems across DoorKing, Elite, Mighty Mule, and LiftMaster platforms, so the brand doesn’t change the diagnostic approach.
What to Document After Every Check (and Why It Matters)
Documentation sounds bureaucratic. It’s not. It’s the difference between a $120 service call and a $600 board replacement two months later. When you track what you observed, you create a timeline that reveals patterns. And when you call a gate repair specialist, that timeline lets them diagnose remotely and arrive with parts already on the truck.
What to write down after each inspection, even the quick ones:
- Date and time of day. Gates behave differently in morning humidity versus afternoon heat. A gate that binds at 7 a.m. and works fine at 2 p.m. has a condensation-related issue. The pattern matters.
- Anything you observed that’s new or changed. “Squeak at the lower hinge at about 40% open” is useful. “Gate makes a noise sometimes” is not. Be specific.
- Any test that failed or passed with notes. “Safety reversal passed but gate pushed the box about half an inch before reversing” tells a technician the force setting is drifting.
- Photos. Your phone camera is the best maintenance tool you own. Photograph terminal blocks, hinge areas, and any corrosion you find. Photos show a technician what they’re dealing with before they arrive.
- Any work you performed. “Wire-brushed lower hinge and applied lithium grease” establishes a timeline of when things were last addressed.
This log becomes invaluable when a technician asks, “When did this start?” Instead of guessing, you have a record. Instead of a mystery diagnostic visit, the technician recognizes the pattern from your notes, confirms it on arrival, and fixes the gate that day. That’s what brand-specific diagnostic capability does: it turns your documentation into a faster, cheaper repair.
Common Mistakes to Avoid
- Using WD-40 as a gate lubricant. It displaces water temporarily, then evaporates and leaves metal bare against salt air. It actively speeds up rust on Daytona Beach gates. Use marine-grade lithium or dry-film PTFE instead.
- Ignoring the manual release because “the gate still works fine.” Manual releases seize from disuse. Then when the power goes out or the operator fails, you can’t open the gate at all. Exercise it monthly.
- Painting over rust without treating it. Paint traps moisture against the metal and hides the problem while it spreads underneath. You have to remove the rust first, then prime, then paint.
- Running the gate while it’s binding or grinding, hoping it’ll “work itself out.” It won’t. A binding gate loads the operator motor, which pulls more amps, which overheats the control board. A $20 hinge repair turns into a $400 board replacement.
- Skipping safety sensor testing because the gate “hasn’t hit anyone yet.” Sensors fail silently. By the time the gate fails to stop on an obstruction, the failure may be months old. Test monthly.
- Cleaning electrical connections with household cleaners. Spray cleaners contain water and conductive residue. You’re not cleaning the terminals; you’re seasoning them for faster corrosion. Use the right contact cleaner or leave it to someone who does this daily.
- Assuming a solar gate doesn’t need maintenance. Solar panels lose output to salt film, bird droppings, and sand. A panel that looks clean can be 25% down in output. Check voltage quarterly in full sun.
When to Call a Professional
Some things on this checklist you’ll handle yourself. But certain failures need a dedicated gate repair specialist, not a generalist. If the gate starts and stops erratically for no reason you can see, the control board is likely failing and needs diagnostic equipment. If you smell burning near the operator, cut power at the breaker and call immediately. If the gate reverses with no obstruction present, the force settings or sensors have shifted, and continued use puts wear on the entire system. If the gate sags enough to scrape the ground, the hinges or the frame itself are compromised. And if you’ve replaced the same part twice in a year, there’s an underlying cause that isn’t being addressed. Regent Gate Repair offers free estimates in Daytona Beach and works on the systems we’ve discussed throughout this guide. Call (855) 927-1091 and describe what you’re seeing. We’ll tell you honestly whether it needs a service call or a trip to the hardware store.
Frequently Asked Questions
Every three months is the baseline in this climate, and every two months if your gate is within a mile of the Atlantic. Salt-laden air strips lubrication faster than inland conditions, and the summer humidity provides constant moisture that accelerates the process. Use marine-grade lithium grease, not WD-40. If you hear any squeak or feel resistance, lubricate immediately; the window between “squeak” and “seized pin” is short here. Call (855) 927-1091 if the gate is already binding; the hinge may need replacement rather than more lube.
Morning condensation is the likely culprit. Humid air condenses on the operator’s internal contacts overnight, and the moisture creates enough resistance to cause intermittent failures. As the day heats up, the moisture evaporates and the gate works again. This is a classic Daytona Beach failure pattern, and it usually means moisture is getting into the operator housing through a cracked conduit seal or worn gasket. The fix is finding and sealing the entry point, then cleaning and treating the corroded connections. The longer it goes, the worse the internal corrosion gets, and eventually the failure stops being intermittent and becomes permanent. Call (855) 927-1091 if this pattern matches what you’re seeing; it’s one we see constantly along the coast.
Yes, and it does it faster than you’d think. Salt-laden humidity wicks into the keypad through the gaps around each key, settles on the solder joints under the membrane, and corrodes them. The first sign is usually a single digit that stops responding, then two, then the whole keypad. Once the solder joints are gone, the keypad is a replacement item. Cleaning the face periodically with a dry cloth and applying a thin coat of silicone spray to the housing seams slows the process. But if you’re already missing digits, it’s a replacement, and the new keypad should be installed with a fresh seal. For a written quote, call (855) 927-1091.
Use a sturdy object that won’t damage the gate or the operator: a filled 5-gallon bucket, a heavy cardboard box, a weighted trash can. Never use a person, a pet, or anything you care about damaging. Position the object in the gate’s closing path and run a normal close cycle. The gate should make contact and reverse direction immediately. If it pushes the object for more than a split second before reversing, the force setting is too high. If it doesn’t reverse at all, stop using the gate in automatic mode and call for electric gate repair. This test should be done monthly, and it takes 60 seconds. The cost of not doing it is far higher than the price of a service call.
How much does typical gate maintenance or repair cost in Daytona Beach?
| Service | Typical Daytona Beach Range |
|---|---|
| Monthly DIY maintenance (supplies) | $20 – $40 per year |
| Annual professional tune-up | $150 – $300 |
| Hinge replacement (single leaf) | $180 – $400 |
| Control board replacement | $250 – $600 |
| Safety sensor replacement | $120 – $250 |
| Full diagnostic service call | $75 – $150 |
These are typical ranges from what we see across Daytona Beach and the surrounding Volusia County area. Your gate’s brand, age, and the specific failure will determine the final number. Every quote is agreed before any work starts, and estimates are free. Call (855) 927-1091 for a specific number on your gate.
You should do the visual and mechanical checks yourself: hinge inspection, safety testing, rust spotting, documentation. These are skill-building and they keep you aware of your gate’s condition. But when it comes to anything involving wiring, control boards, terminal blocks, or loop detectors, that’s where a dedicated gate specialist provides value that pays for itself. The time spent learning how to safely diagnose a corroded terminal block is time you could spend calling someone who does it every day. A good approach is DIY the monthly checks, hire out the annual deep service, and call immediately when something fails a test. Regent Gate Repair offers free estimates in Daytona Beach at (855) 927-1091.
The Bottom Line
Daytona Beach gates fail from humidity, salt, and UV in ways that generic maintenance guides never address. The monthly checks keep you aware. The quarterly corrosion work prevents the expensive failures. The annual tune-up in April or May sets you up to survive the wet season without a breakdown. The right lubricants and the right documentation habits turn a reactive repair cycle into a predictable maintenance schedule. And when something does fail, whether it’s a DoorKing keypad, an Elite drive gear, or a Mighty Mule solar system, knowing what you’re looking at means you can describe it accurately and get it fixed faster. For more guides & resources, visit our blog.
Written by the team at Regent Gate Repair, serving Daytona Beach since 2013.
See the difference
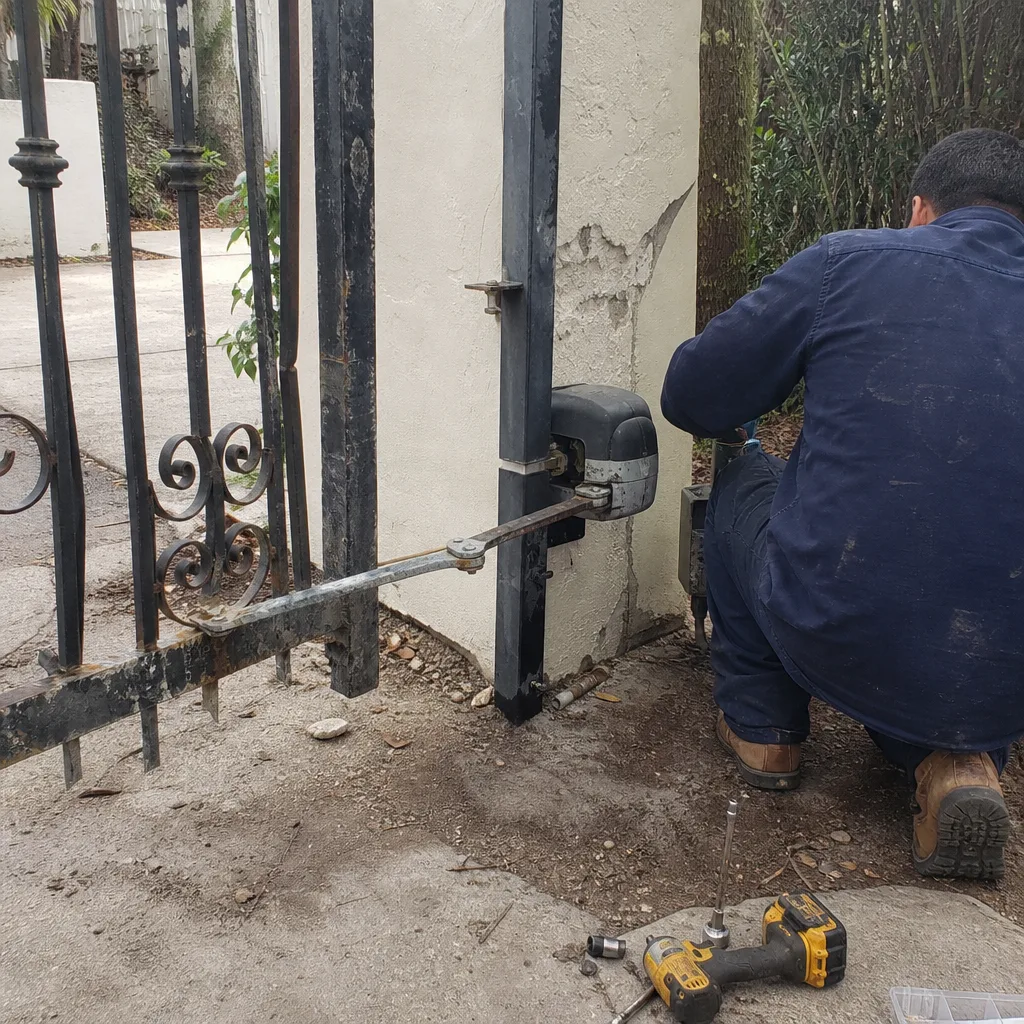 Before
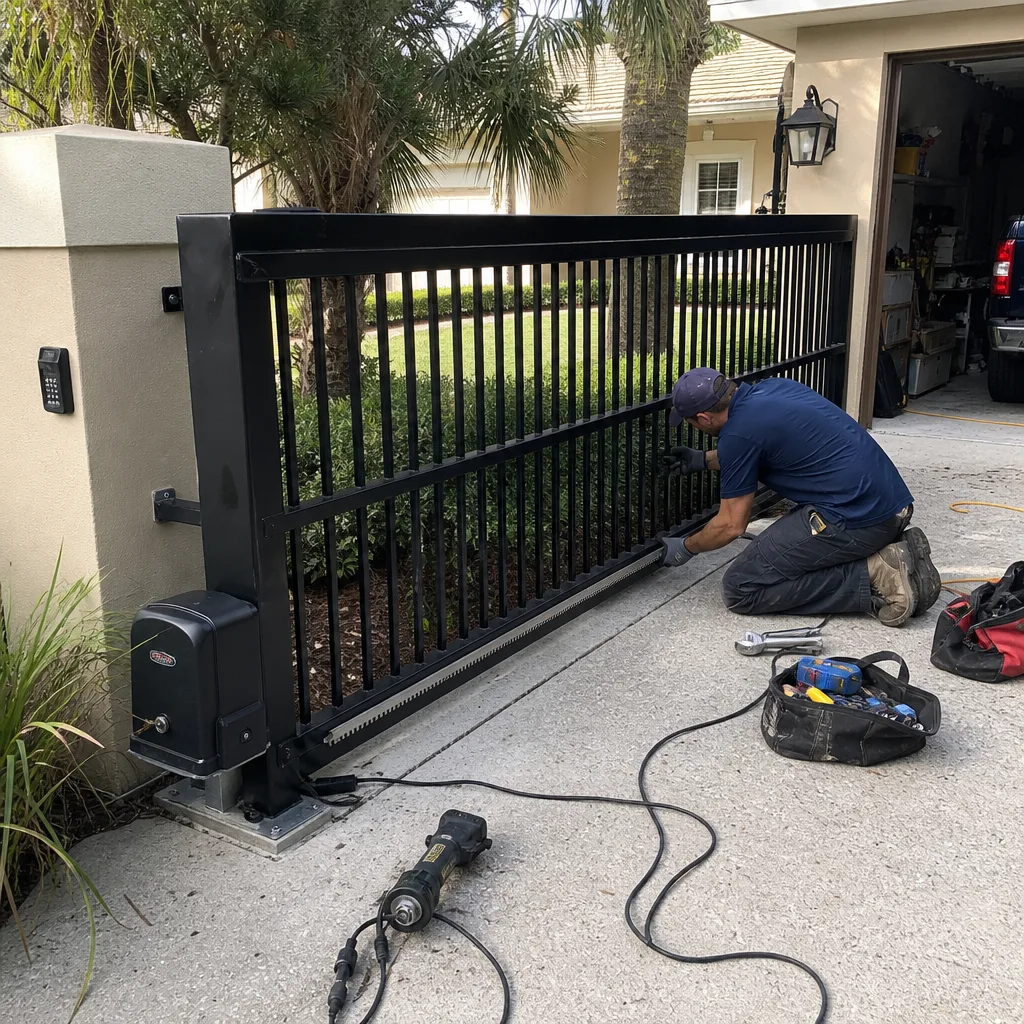 After
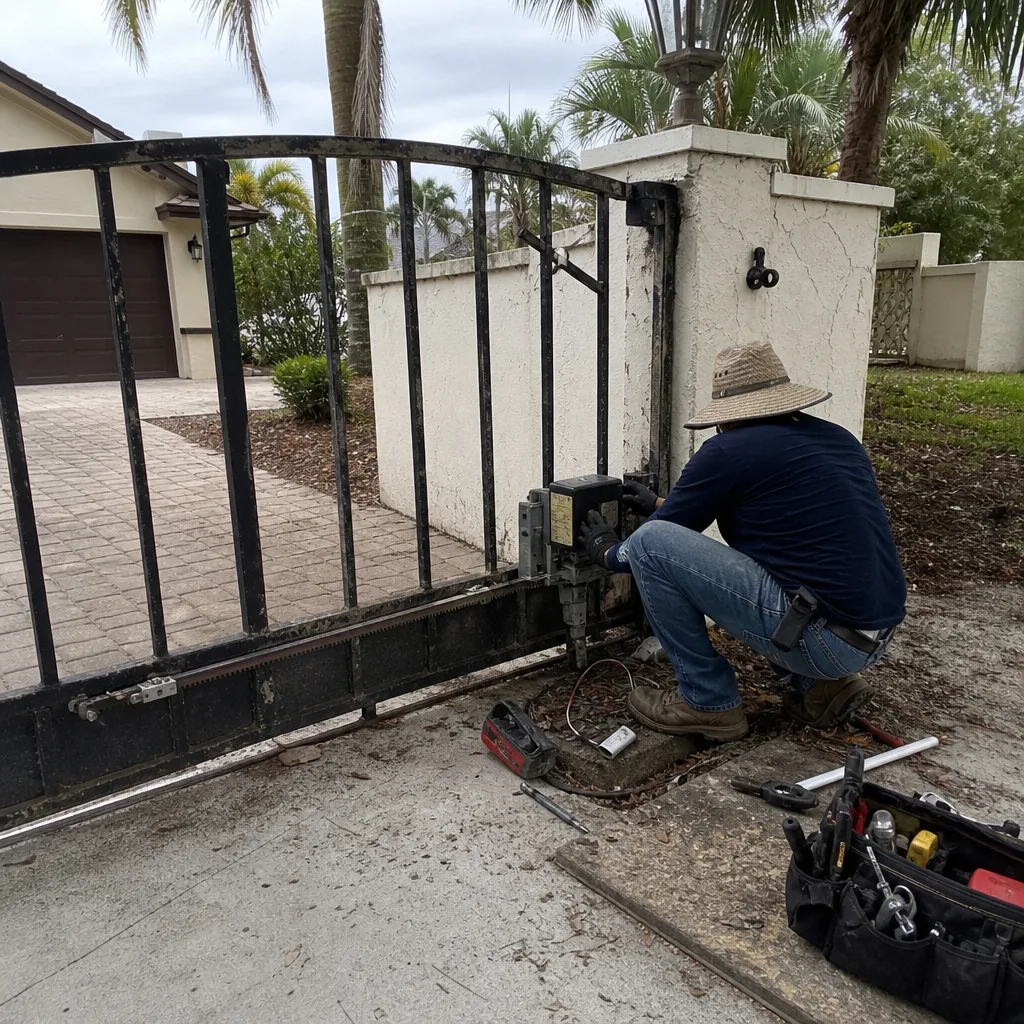 Before
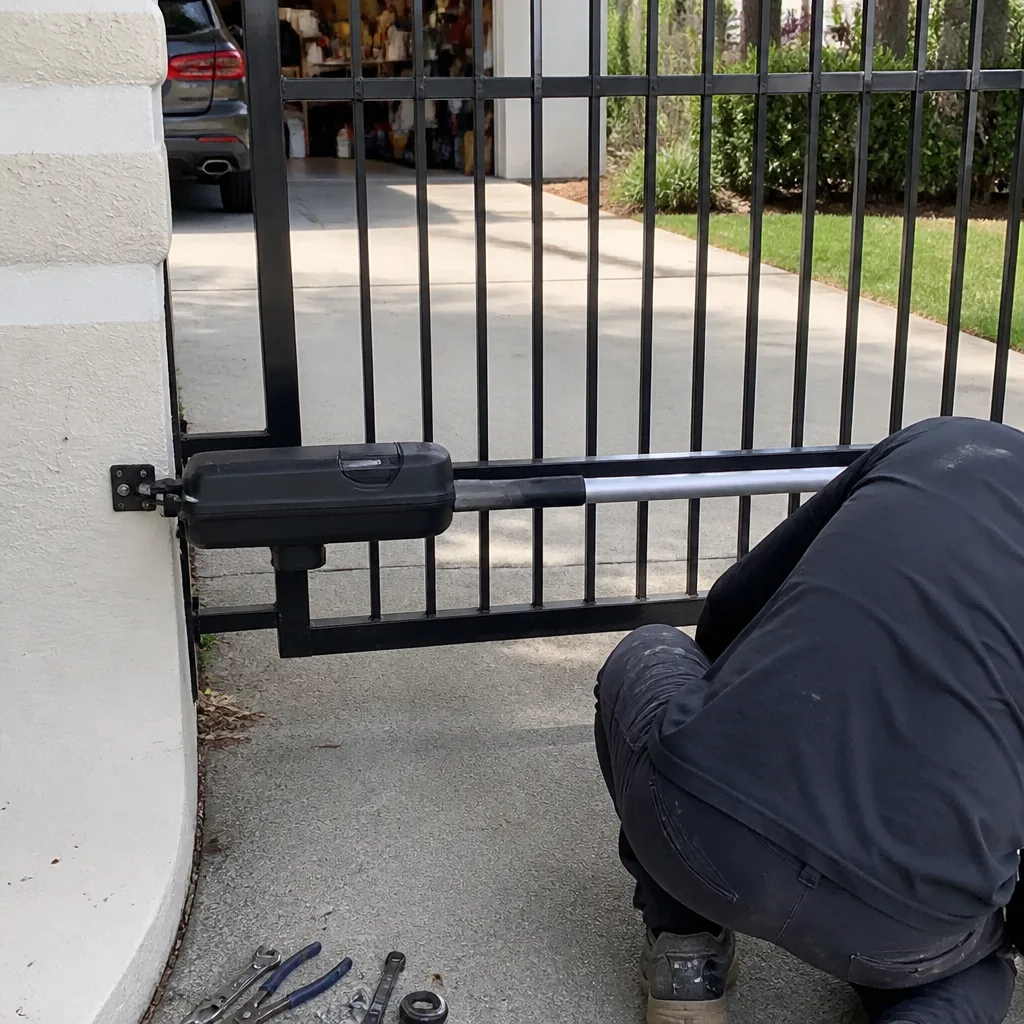 After
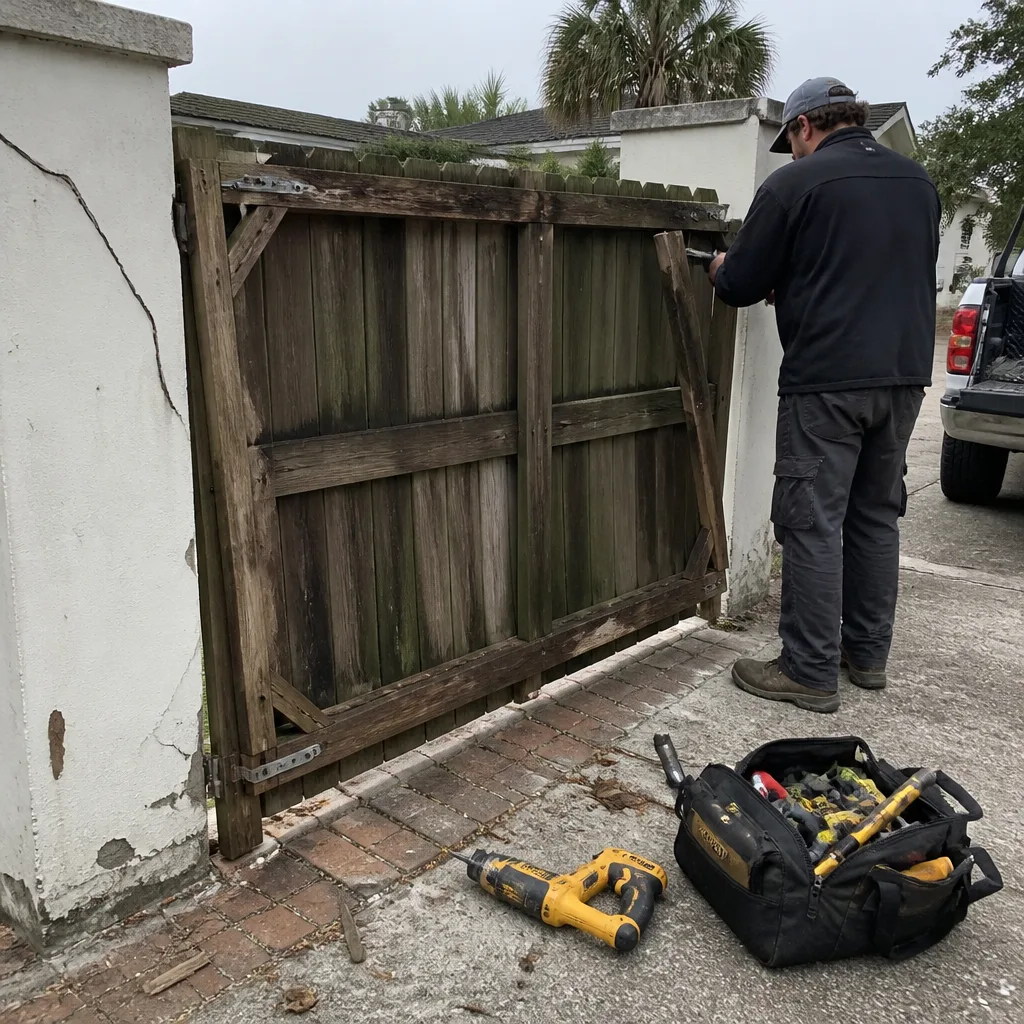 Before
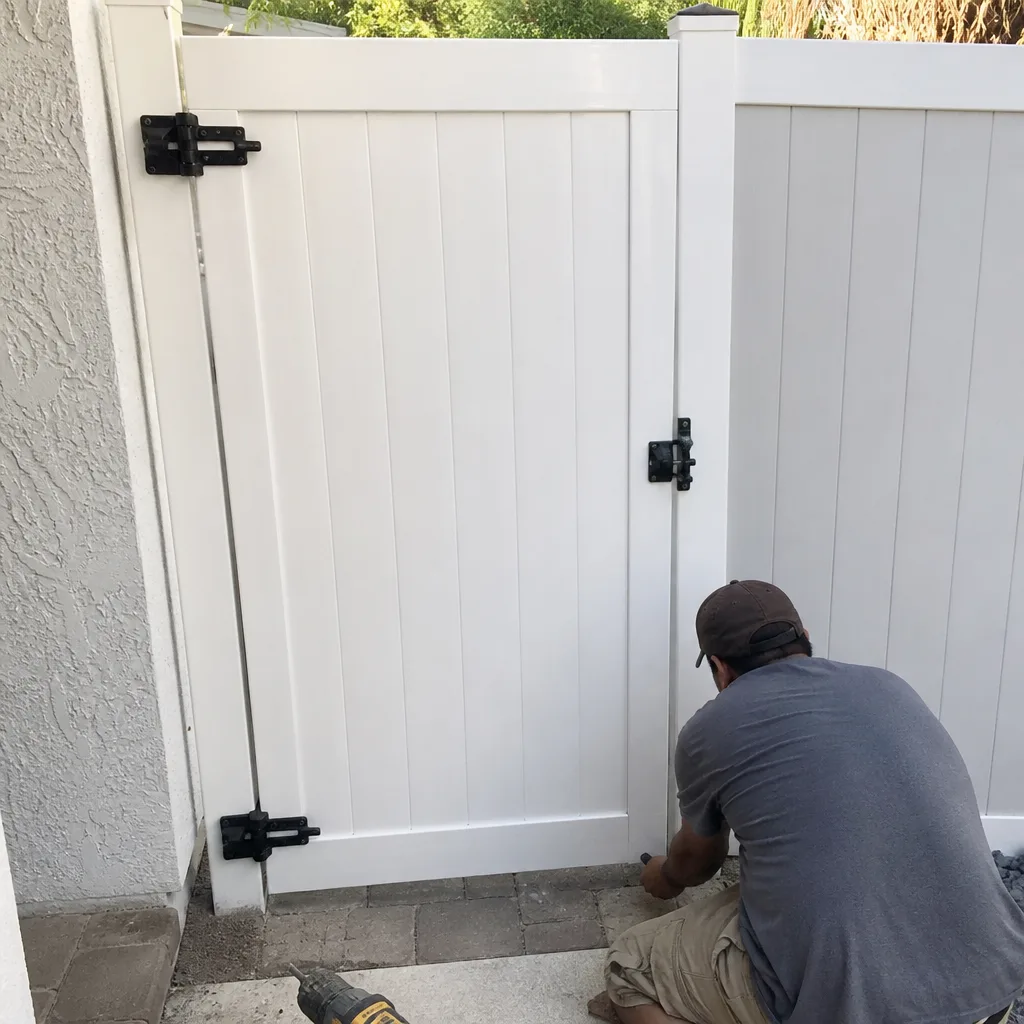 After